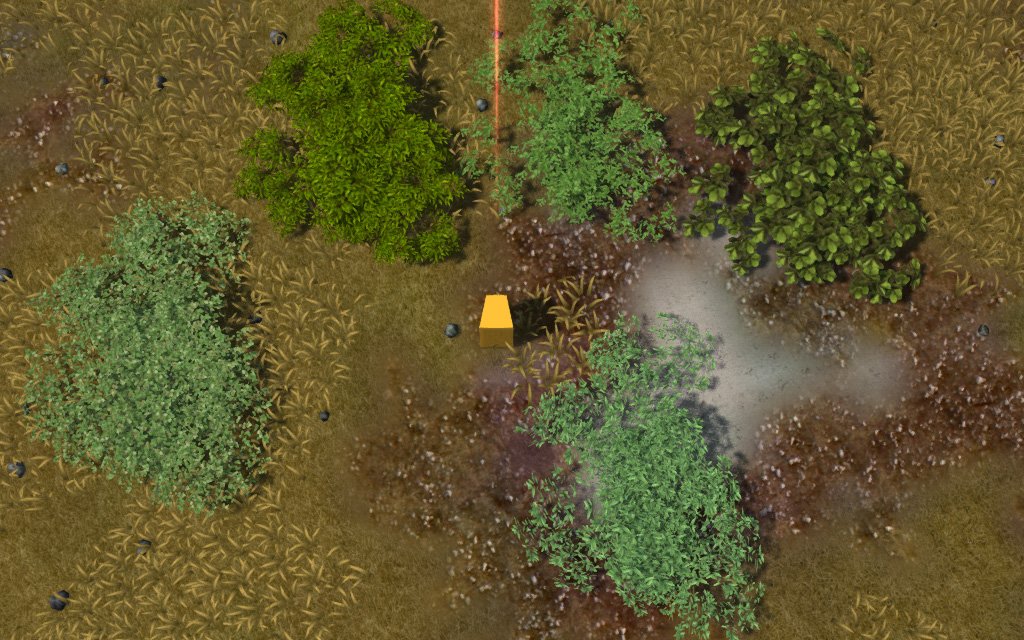
If you want to be pedantic, it's actually a rectangle.
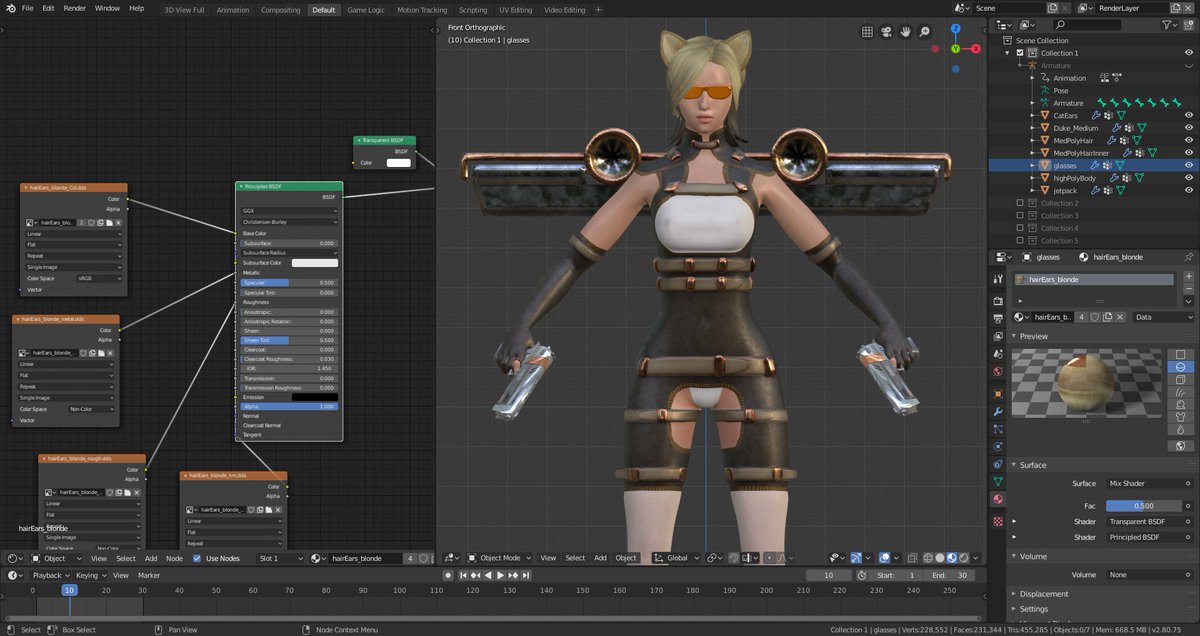
And here's it's replacement going all John Woo/Chow Yung Fat/Revy with dual wielding pistols.
Ooooh looks gamey!
But first to Blender3D 2.8. It's the newest version of Blender3D with a whole host of changes - like inverting mouse buttons for selection ... which is gonna take some getting used to after 15 years of it being the other way ...
However it did have a new addon I wanted to test out, an addon for generating LODs (level of detail) for my high poly mesh by creating retopology of the mesh automatically. What I wasn't expecting was for the new Blender 2.8 to hunt down and retire my older version of 2.78c which was in a totally different directory location.
So it turned out to be time to learn the new Blender whether I really wanted to or not ...
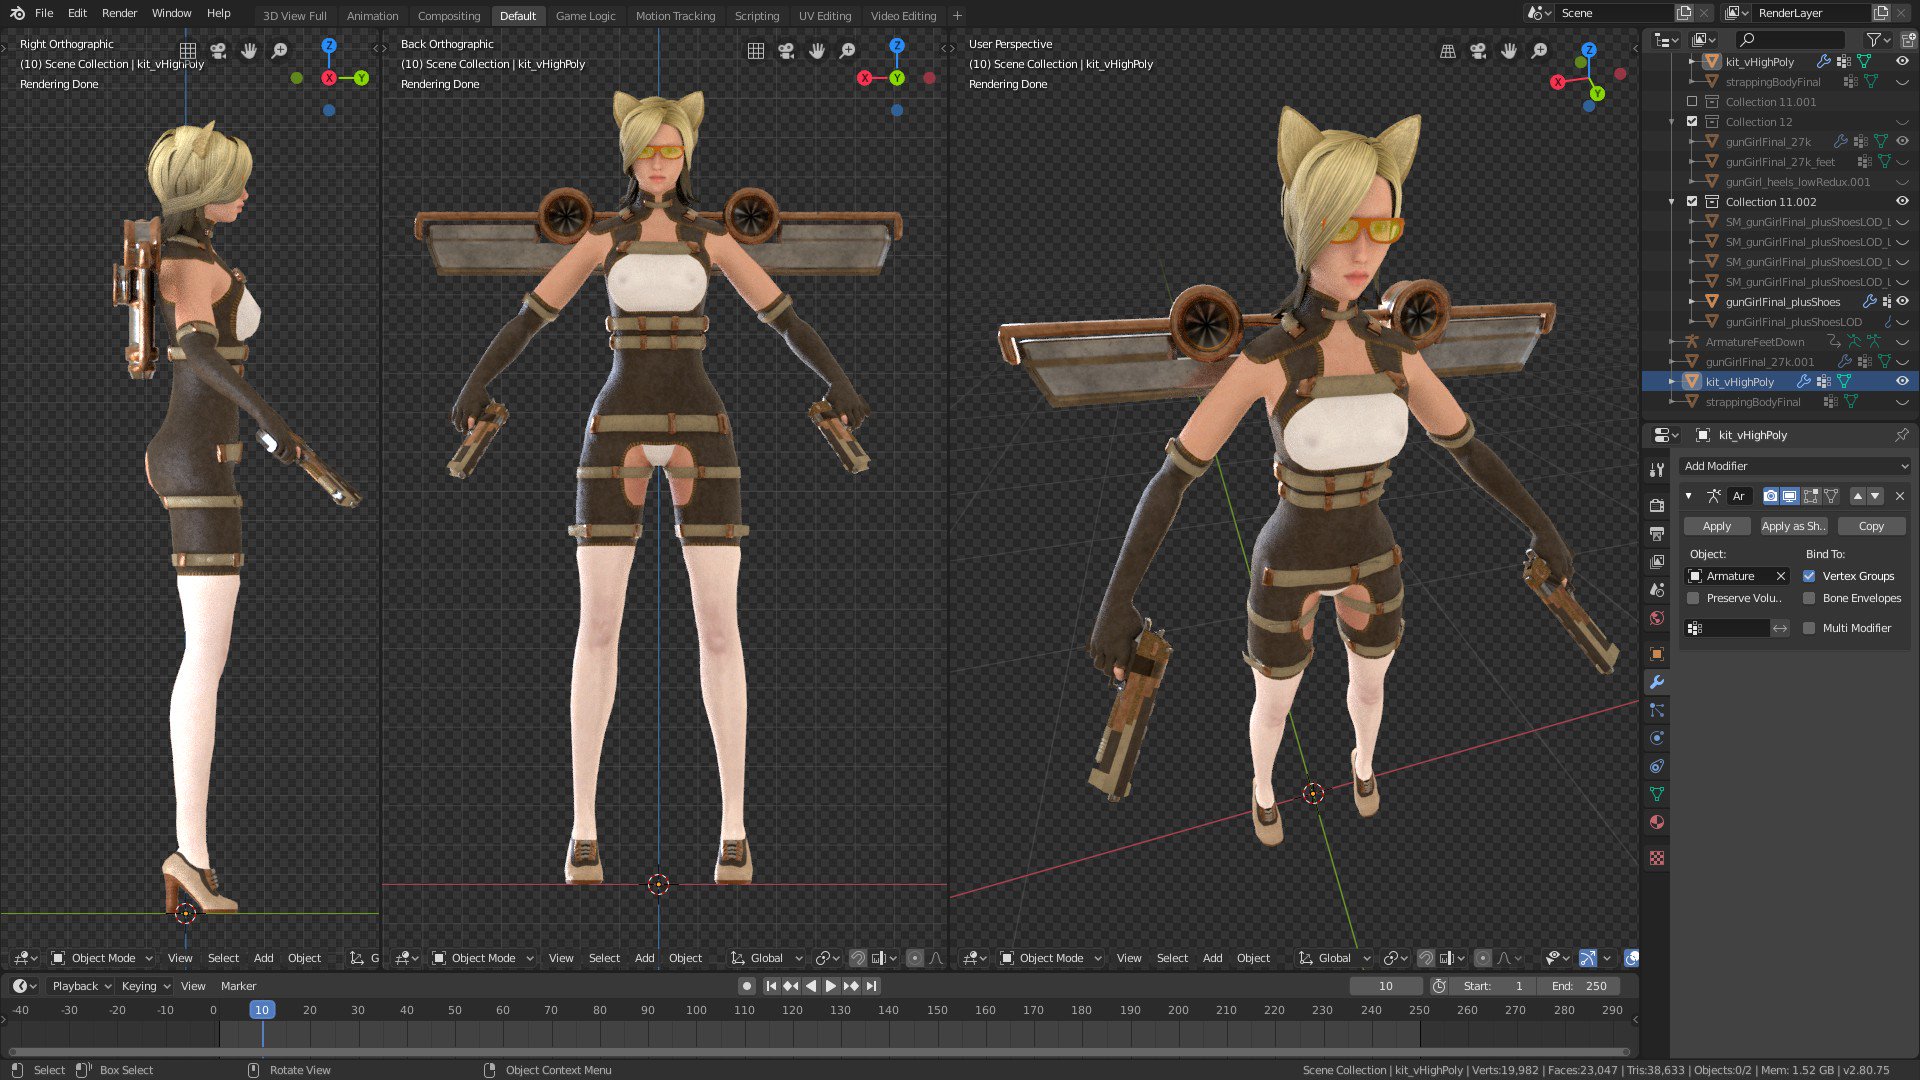
This was going to happen anyway due to the new Blender being all PBR and stuff ... it's just that I wanted to worry about that later, but now I had to worry about that now. The first problem was ... well ... PBR, and the fact that no materials or textures would render without creating some sort of spaghetti of virtual nodes - and this was just to get textures to show up on the model. And of course PBR textures won't render without both roughness and metal values.
Spagbol junction in the left pane, just to make textures visible in the right ...
After a bit of work, et voila!
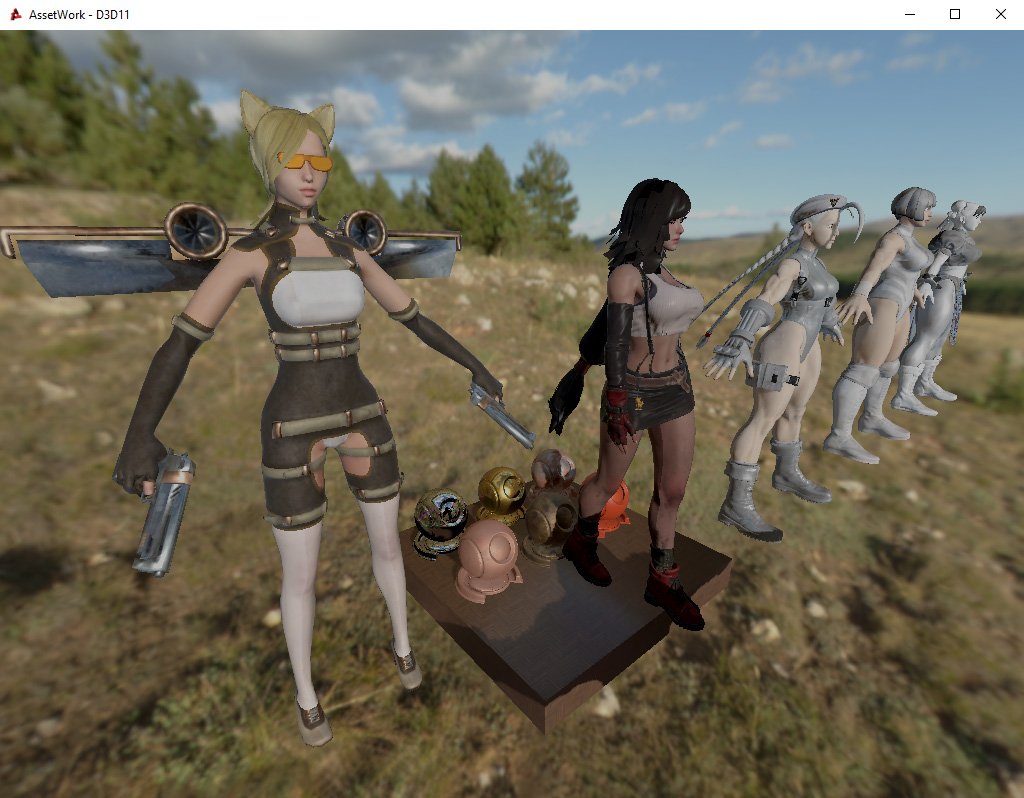
And how it looks in the latest, PBR friendly version of the open source game engine.
Catchick hanging with the TripleA Thicc Squad in PBR land
Which is when I found out that transparency was broken and filed an issue report on the code repository, github ... by which I mean I whined in the discord server to the power's that be, because github is my mortal enemy for reasons of never having been able to successfully create a working pull request that didn't get rejected ...
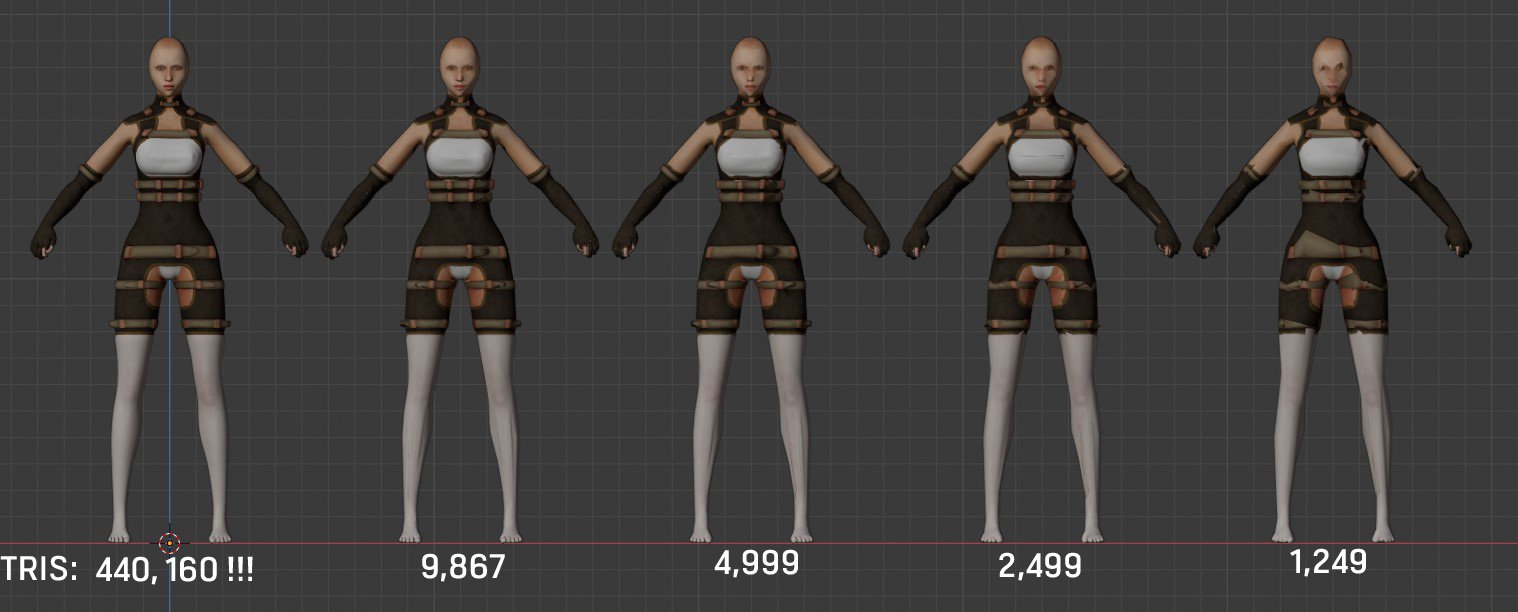
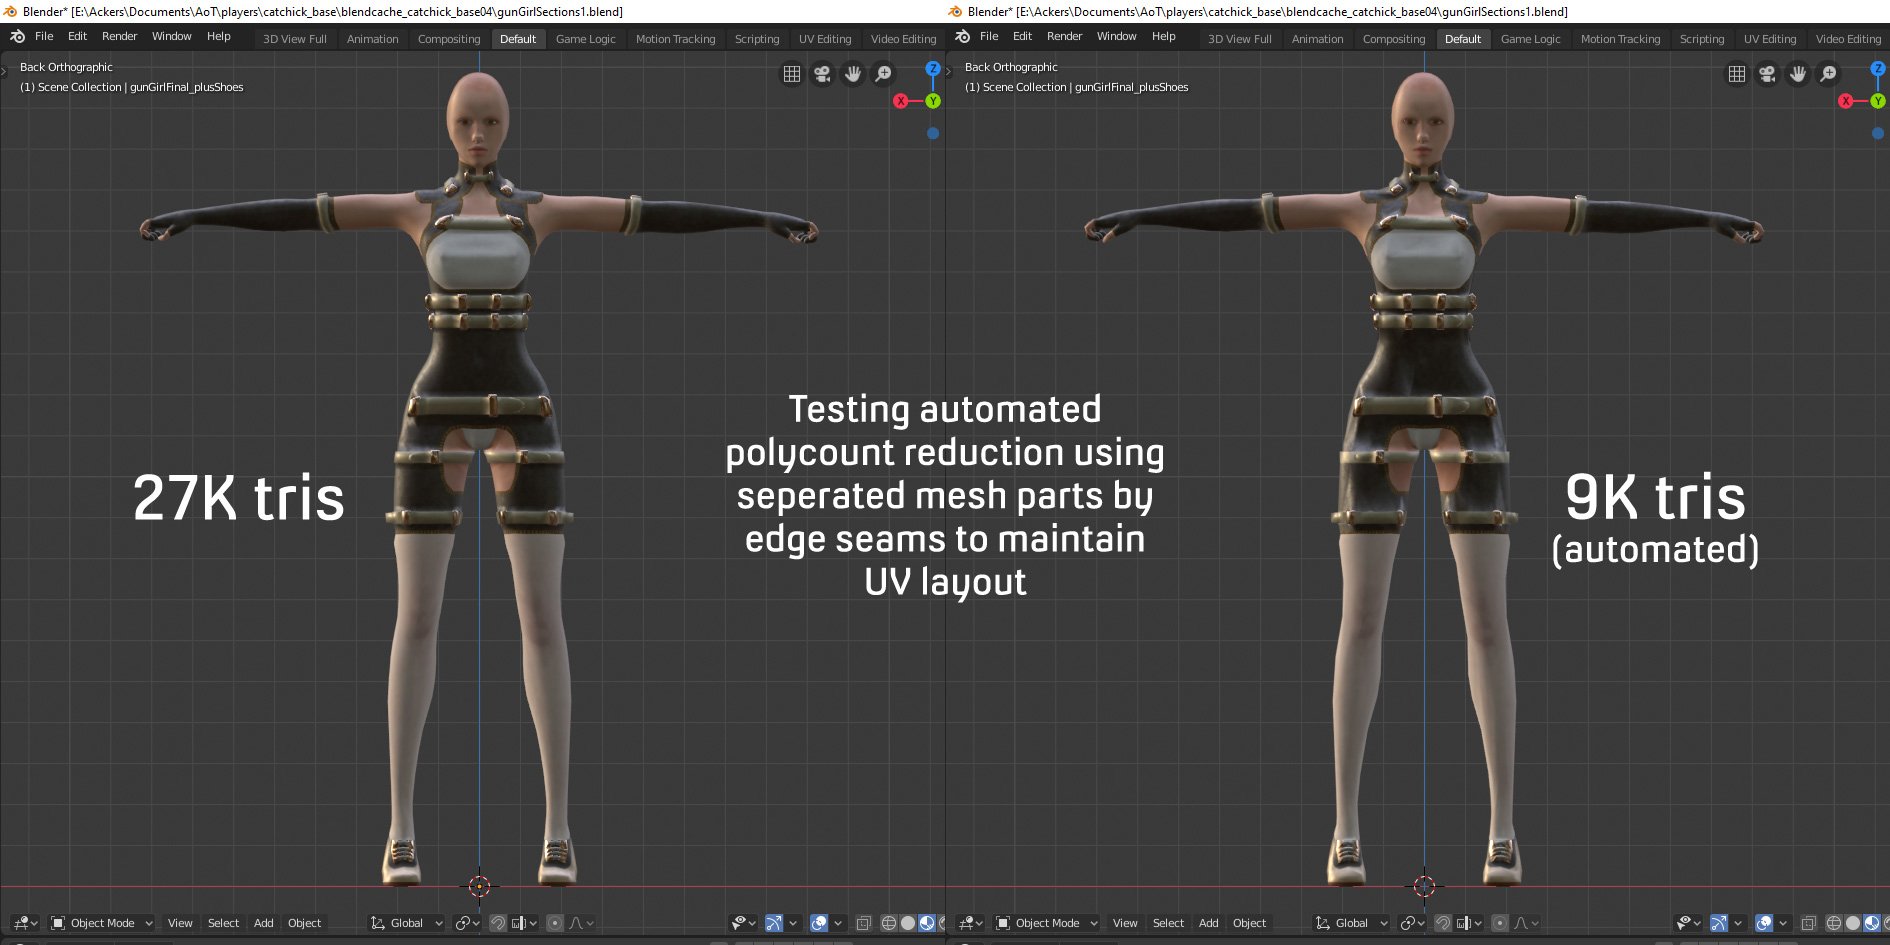
So, back to that auto-retopology LOD generator I wanted to test. It's called Game Asset Generator and is looks like a pretty nice piece of kit. I had a model with around 27K triangles and beefed it up to a completely ridiculous 440K using some catfish-bob subsurfing (or whatever the hell it's called).
From "USE ALL THE TRIANGLES!!!!" to "use a more reasonable number of triangles in one simple click ...
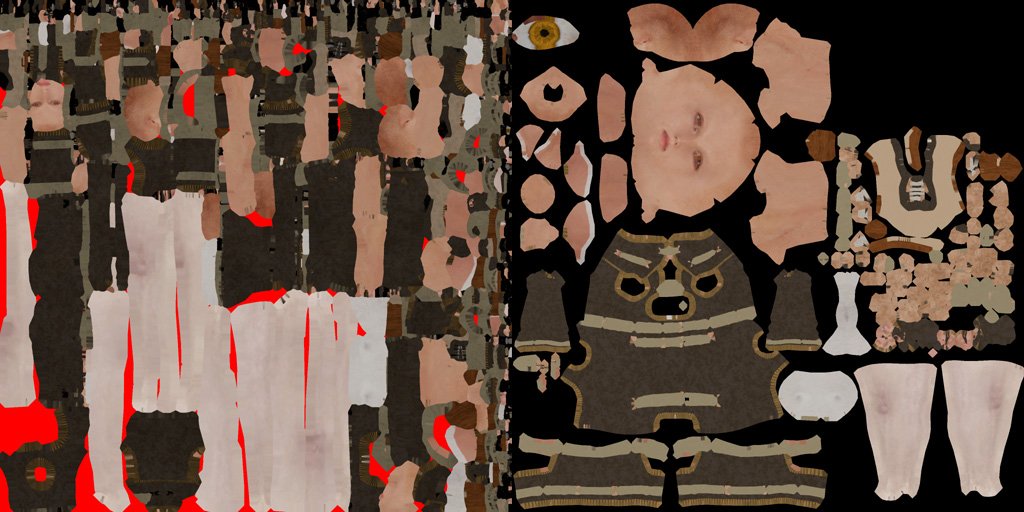
The real down side to it was that it completely mangles the original UV maps into one horrible mess, and these were something which I wanted to try and preserve.
Whisky Tango Foxtrot on the left, as opposed to the original on the right
Now this is why people go about the arduous and rather boring process of manually retopology on high resolution meshes. But I want some sort of quick fix and my cake and eating that cake and still having cake, so I set about a cunning plan and broke the model up into separate sections based on the UV island layout, before automagically creating a lower topology. I then checked that the seams were still intact and adding new ones if they were not and recreated an approximation of the UV map, stitched all the parts together again and finally baked the textures from the original high poly mesh. Whew ...
And that all worked quite nicely. It wasn't "quite" as automated as I would have liked, and wasn't "quite" as good at retaining mesh loops as I had hoped for, but it did work. Having said that perhaps taking the extra time to manually retopology the high poly mesh into a lower poly mesh may be worth it ...
Next up was to rig the whole model with an armature for animation, and export as we would normally via the COLLADA exporter. Except the new Blender3D 2.8's COLLADA exporter has a whole range of new and completely undocumented options. So, in usual fashion I just went and dived in testing what worked and what didn't.
Nope
Nah
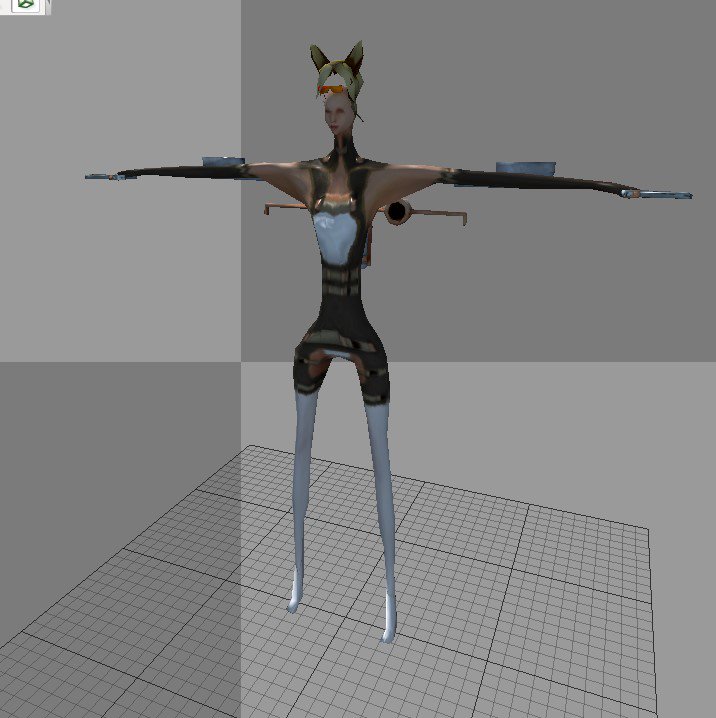
Eventually I got a rigged armature exported. It turned out it didn't like being parented to the actual skeleton directly and could pick it all up via the armature modifier. Now for animations!
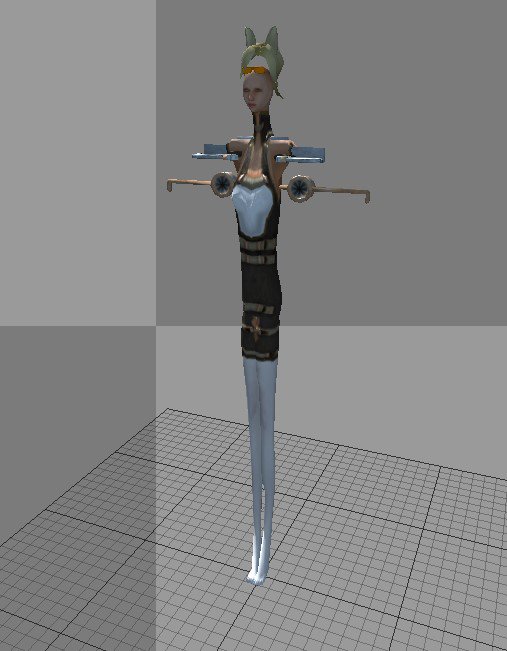
Dancing on ice? Close but no banana as far as a nice clean export goes ...
I wrote a more detailed thread up on the forums here.
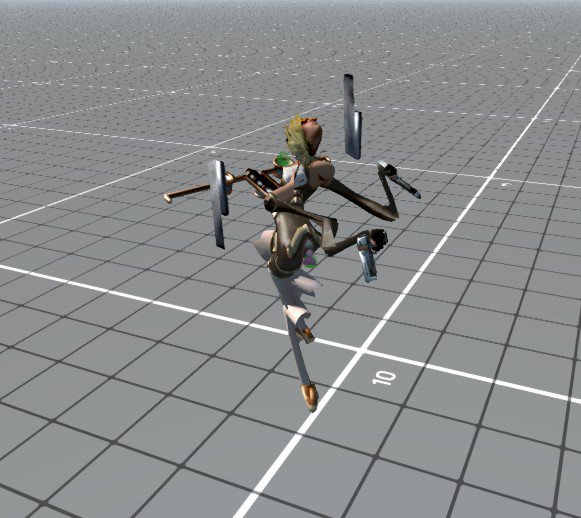
And eventually I got a working, and fully animated character out of Blender3D 2.8 and into the game.
Those Taoist charms say no and they mean no
Whilst trying to get the more hardcoded movement-to-attack animations working I came across numerous issues (which is just kinda part of life as an indie dev to be honest, especially when you're a One Man Army). The first was an unexpected naming convention for attack/recoil animation which took a day and a half to solve. This would have been a lot quicker if I had just gone and looked through the source code instead of thinking that something else was wrong.
The second was that the weapon finite state machine (FSM) kept overriding my second fire state with the first. The character has two handguns and I wanted them to fire each in turn for the standard light attack, and then both together in a heavy attack, except only the first light attack would work and occasionally half the animation for the second would attempt to play. It turned out that because I was using a hardcoded "stateFire=true;" setting, on loading it would store the animation, audio and particles for the fire state into memory and reuse it in any other state that had stateFire. However, stateFire does not actually launch any attacks or projectiles as that is all done via each states script, so by disabling stateFire on the second light attack I could prevent it from overriding the state and have the left handgun shoot.
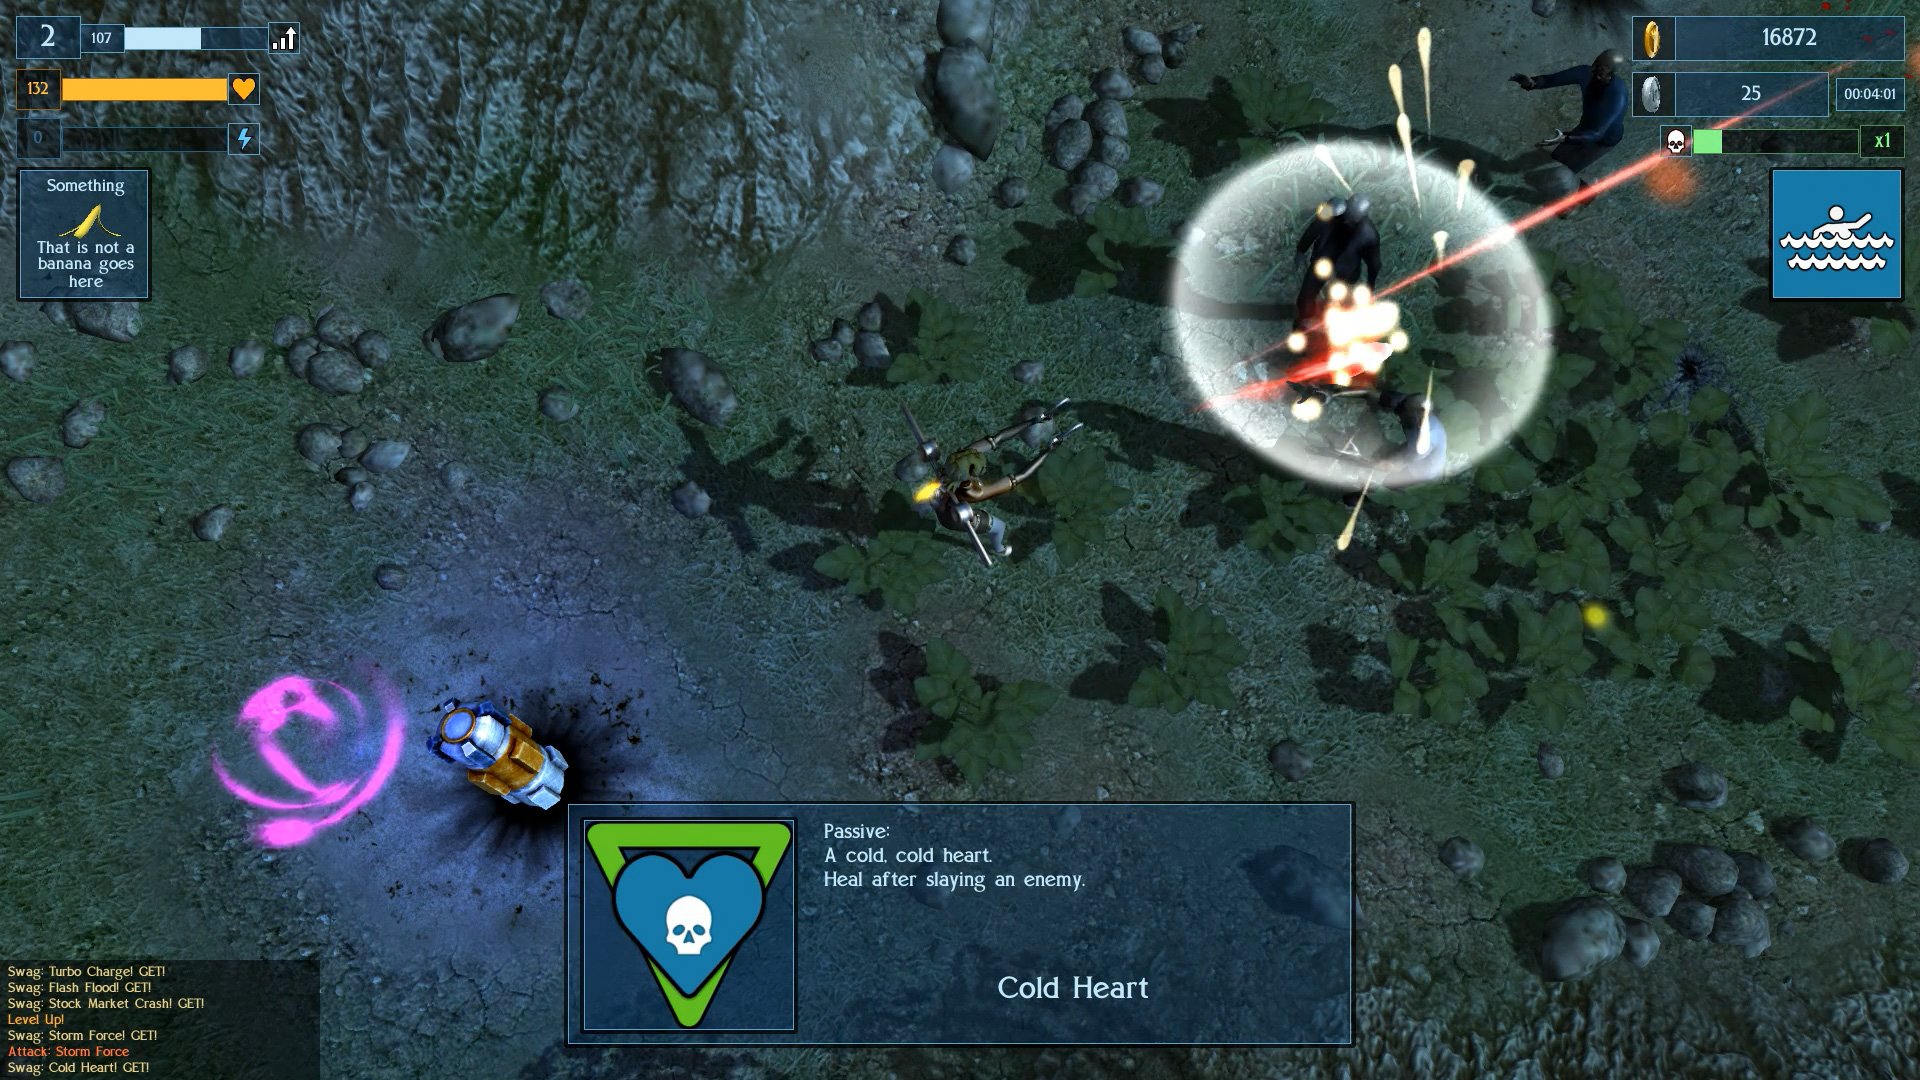
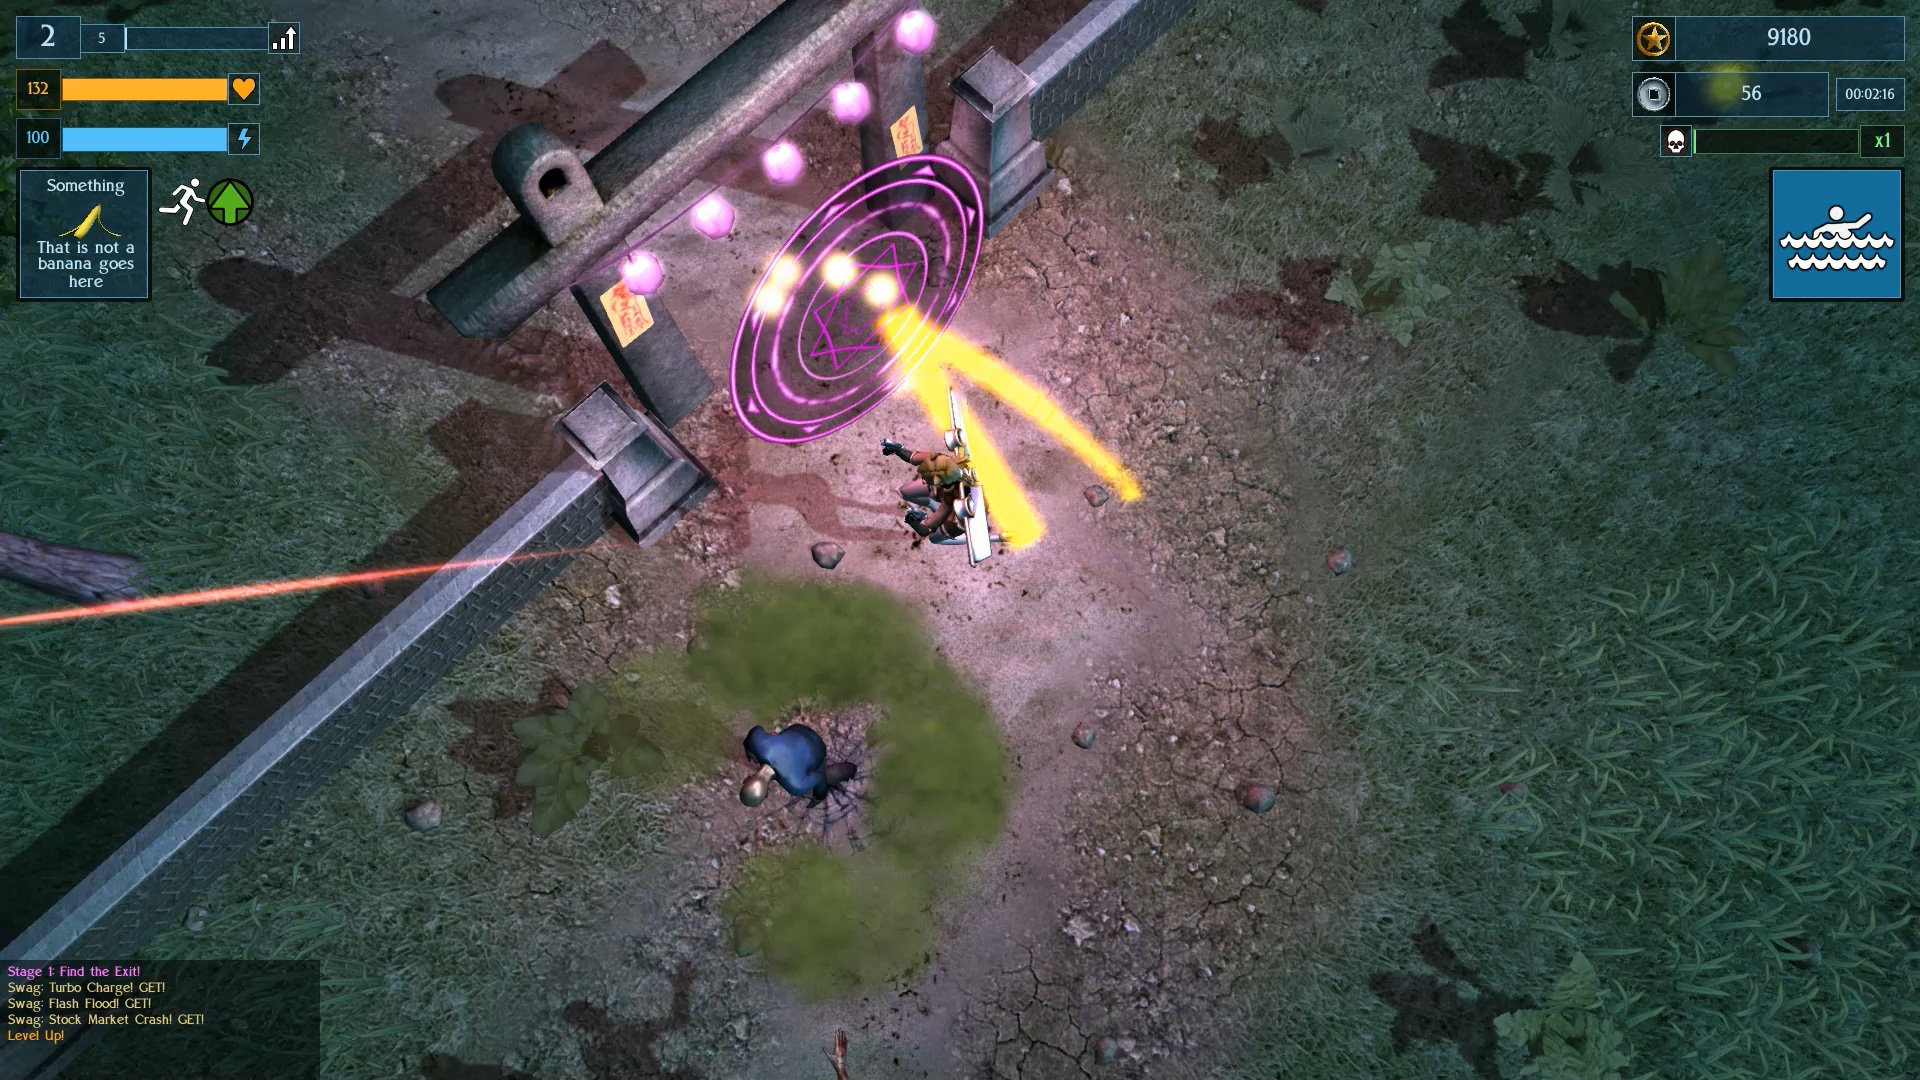
And here is the game in all of it's post-yellow cube glory. This is the old DirectX9 version and not the new PBR one, recorded at a slightly janky 30fps because my upstream internet is bad.
So, that was the month that was ... I learned the new Blender and PBR by accident, pummelled exporting and animation until it worked, and finally replaced placeholder cube with an actual working character. And tomorrow is the first day of meteorological autumn.

No comments:
Post a Comment